Setting up a dedicated home theater isn’t just about mounting a big TV on the wall, it’s about creating a space where the technical details fade into the background and you’re fully immersed in the experience. Whether you’re planning a cozy bedroom screening room or a full basement media sanctuary, a well-designed TV home theater combines thoughtful room selection, quality equipment, and smart layout to deliver cinema-quality viewing at home. This guide walks through the essential decisions homeowners and DIY enthusiasts need to make, from picking the right room to selecting displays and speakers that actually work together.
Table of Contents
ToggleKey Takeaways
- A dedicated TV home theater combines room selection, quality equipment, and smart layout to create an immersive viewing experience that prioritizes comfort and technical harmony.
- Room dimensions and viewing distance are critical: a 12-by-16-foot space suits a 55-inch TV at 7–9 feet back, while projector setups require at least 14 feet for comfortable 100+ inch screens.
- Audio quality makes or breaks a TV home theater experience—start with a standard 5.1 surround configuration (center, left/right fronts, two surrounds, and subwoofer) and prioritize calibration over quantity.
- Invest in comfort-focused seating ($300–$800 per seat), blackout solutions, and acoustic treatments to create a space you’ll actually use regularly rather than abandon.
- Plan wiring infrastructure during room layout and construction phases by running cables through conduit and keeping speaker wires 12 inches away from power sources to eliminate interference.
- Start with a practical budget foundation—a solid 65-inch TV with quality 3.1 speakers outperforms an expensive projector paired with cheap audio, allowing you to upgrade strategically over time.
Choosing The Right Location And Room Layout
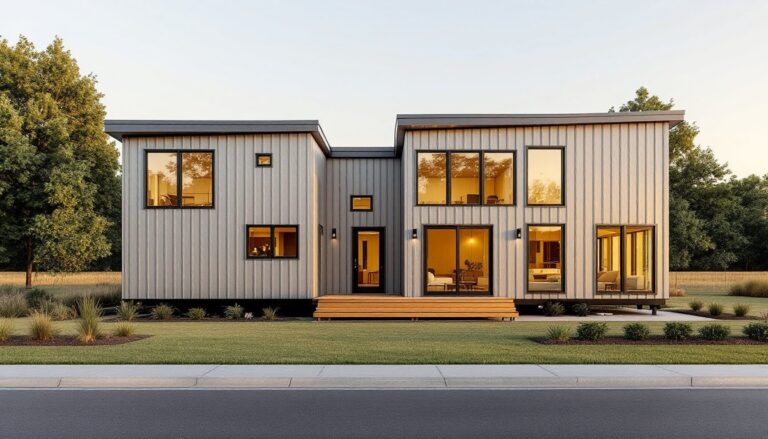
The foundation of any home theater starts with picking the right room. Basements are the classic choice, they’re naturally dark, isolated from household noise, and often have flexible layout options. But bedrooms, finished attics, or even a spare office can work if you can control light and sound. Avoid rooms with large windows facing south or west unless you’re committed to blackout solutions: daylight ruins contrast and colors on any display.
Room dimensions matter more than most homeowners realize. A space that’s 12 by 16 feet gives you solid seating distance for a 55-inch TV (about 7–9 feet back), while anything larger benefits from a bigger display or projector setup. Measure twice before committing, a 100-inch projector screen demands at least 14 feet of viewing distance for comfortable viewing angles.
Layout comes down to sight lines and symmetry. Center your seating so viewers face the screen head-on: a 15–20 degree angle from center is the maximum for comfortable neck positioning. If you’re mounting a TV, place it at eye level when seated (roughly 42–48 inches from the floor). For projector setups, account for throw distance, the horizontal space between projector and screen, before selecting your equipment.
Acoustics start in the layout phase. Hard, reflective surfaces (concrete, tile, drywall) bounce sound around and create muddy audio. Plan for absorption and diffusion early: softer materials like curtains, rugs, and upholstered furniture will tame reflections. Avoid placing seating against bare walls directly: even 12 inches of breathing room helps. If structural work is needed, like adding a soffit for wiring or framing a bulkhead, handle it before equipment installation.
Essential Equipment And Technology Setup
Display Options: TVs And Projectors
TV or projector? Each has genuine trade-offs, and the best choice depends on your room, budget, and viewing habits.
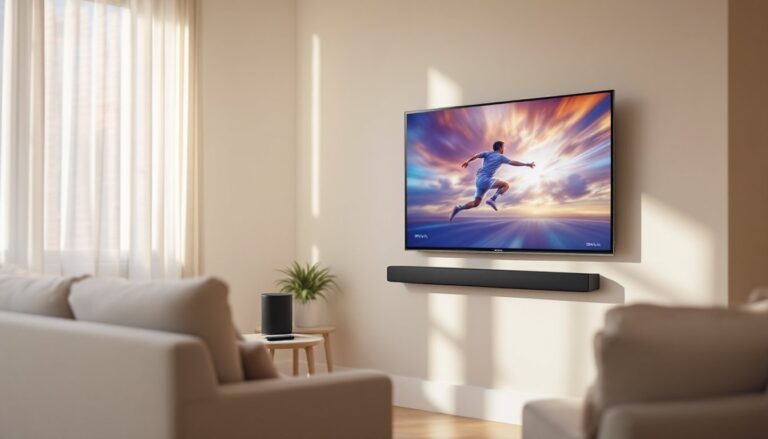
TVs are the straightforward option. A quality 65–75 inch 4K LCD or OLED model is the sweet spot for most home theaters: OLED panels offer superior contrast and blacks, while premium LCDs handle bright rooms better and come in larger sizes. Look for TVs with 120 Hz refresh rates if you watch sports or gaming content, it eliminates motion blur. Budget $1,500–$3,500 for a solid performer that won’t need replacing in five years. Wall mounting is standard: use a full-motion bracket rated for your TV’s weight and VESA mounting pattern, and run all cables through the wall in conduit if possible to keep the space clean.
Projectors shine in dedicated dark rooms where you want 100+ inches of screen real estate. A good 4K home theater projector ($2,000–$5,000) delivers immersive scale that a TV can’t match, but you’ll also need a proper motorized projection screen ($500–$2,000) and a ceiling-mounted enclosure to hide wiring. Throw distance is critical, measure your room carefully. A short-throw projector sits closer to the screen (useful in compact rooms), while standard models need more depth. Projectors require regular filter maintenance and lamp replacements, so factor that into long-term costs.
TV wins on convenience and brightness handling. Projectors win on immersion and screen size. Many home theaters use both: a TV for casual viewing and a projector for movie nights.
Audio Systems And Sound Configuration
Audio makes or breaks a home theater, yet many people skimp here. A quality surround sound system transforms a good experience into a genuinely immersive one.
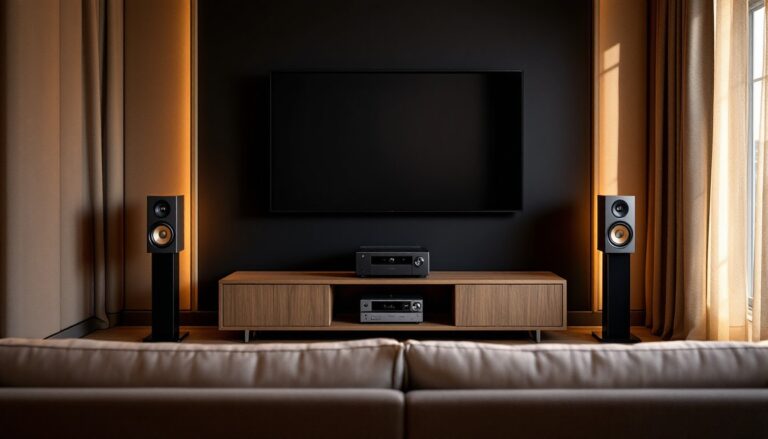
Start with a 5.1 surround configuration: a center channel speaker (on a stand or shelf below the TV), left and right front speakers (flanking the TV at ear level), two surround speakers (mounted on side walls 1–2 feet above ear level), and a powered subwoofer (placed in a corner for bass response, but test placement, some corners boom, others tighten bass). This setup handles standard movie soundtracks and is the industry standard for home theater.
A 7.1 configuration adds rear surrounds for larger rooms (20+ feet deep), but don’t add them just for the count, proper placement and calibration matter more than speaker quantity. Bedroom and smaller setups work fine with 2.1 or 3.1 (no surrounds).
Speaker selection depends on your budget and room. Passive speakers (no built-in amplifier) cost less but need a receiver rated for their impedance and power requirements. Active/powered speakers simplify wiring but offer less flexibility. For a 12-by-16-foot room, aim for speakers rated 85–89 dB sensitivity: they’ll fill the space without requiring a massive amplifier. Brands like Klipsch, Yamaha, and Denon offer reliable home theater bundles ($800–$2,500), while DIY builders explore forum recommendations and frequency-response measurements.
Calibration is where amateurs stumble. After installation, use a sound meter app or a dedicated calibration microphone (many AV receivers include one) to set speaker levels so each outputs the same volume at your main seating position. Bass should hit hard but not dominate, a subwoofer crossed over at 80 Hz (typical) lets your main speakers focus on midrange and treble clarity.
Run speaker cables through the walls in conduit before drywall goes up, or use surface-mounted raceways if walls are finished. Keep speaker wires away from power cables, a 12-inch separation reduces electromagnetic interference. Don’t cheap out on cabling: for runs under 50 feet, 12–14 AWG (gauge) speaker wire is standard.
Designing For Comfort And Aesthetics
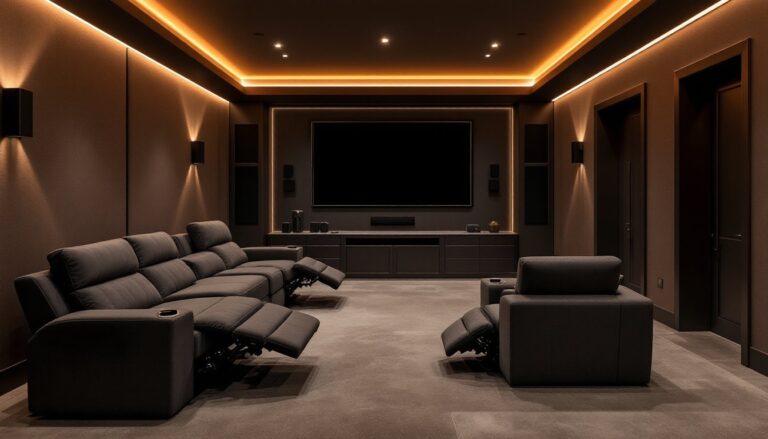
A home theater that doesn’t feel comfortable to sit in gets abandoned. Seating, lighting, and acoustic treatments deserve real attention.
Invest in recliners or theater seating that supports your back and lets you stretch out, you’ll be there for two hours at a stretch. Budget $300–$800 per seat for quality leather or microsuede recliners: cheaper options sag within a year. For smaller rooms, a quality sectional with a chaise end works fine. Leave 12–18 inches between rows if you’re planning multiple tiers: 3 feet of legroom per row is standard.
Lighting control is essential. Blackout curtains or motorized roller shades ($200–$600 per window) seal out daylight and look polished. Accent lighting, recessed LEDs or bias lighting behind the screen, improves eye comfort during dark scenes without creating on-screen glare. A dimmable wall-mounted light panel or smart bulbs let you adjust ambiance without leaving your seat.
Acoustic treatment doesn’t have to mean ugly foam panels. Fabric-wrapped absorption panels ($100–$300 each) blend into décor while taming echo. Heavy curtains, rugs, and upholstered furniture all absorb sound. Popular Mechanics guides homeowners through acoustic treatment basics, including DIY options for the budget-conscious. Target problem frequencies by ear, muddy bass usually means you need corner bass traps: hollow midrange points to wall-mounted absorption.
Wiring should vanish. Run in-wall rated HDMI and speaker cables through conduit: surface raceways look clean if walls are already finished. Label everything at the receiver and TV ends, future troubleshooting depends on it. For future-proofing, run extra conduit while walls are accessible: you’ll thank yourself when upgrading equipment in five years.
Temperature and humidity matter for equipment longevity. Projector lamps degrade faster in hot spaces: electronics tolerate 40–60% humidity best. A basement theater might need a dehumidifier in summer. Keep ventilation unobstructed around your AV receiver and projector to prevent overheating.
Conclusion
Building a home theater is a project that rewards planning. Pick the right room, choose equipment scaled to that space, and don’t skip the acoustic and comfort details that separate mediocre setups from ones you’ll actually use. Start with what fits your budget, a solid 65-inch TV with a 3.1 speaker system beats a maxed-out projector with cheap audio every time. Add and refine as you go. The best home theater is the one that gets used, not the one that’s technically perfect.