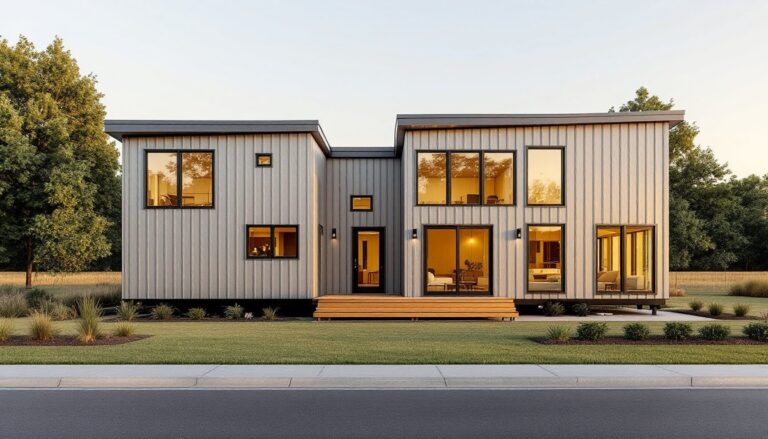
Converting a shed into a tiny home has shifted from an unconventional experiment to a legitimate housing solution for homeowners seeking affordability, flexibility, and sustainable living. Whether you’re adding guest quarters, creating a home office retreat, or building a primary residence, transforming an existing shed saves money and time compared to building from scratch. This guide walks you through the critical assessment, planning, construction, and legal steps required to turn your shed into a livable, code-compliant tiny home. Success depends on honest evaluation, proper systems design, and respect for local building requirements, skip any of these, and you’ll face costly fixes or permit headaches down the road.
Table of Contents
ToggleKey Takeaways
- Assess your shed’s structural integrity first—check for rot, pest damage, and foundation issues, as addressing these early prevents expensive repairs later.
- Shed into tiny home conversions require proper electrical, plumbing, HVAC, and insulation systems to meet code and ensure year-round livability.
- Maximize space efficiency by using lofted sleeping areas, built-in furniture, and vertical storage to recover 80–120 square feet in a compact footprint.
- Insulation and weatherproofing are critical: plan for R-15 to R-21 wall insulation and R-30 minimum ceiling insulation to maintain comfort and energy efficiency.
- Obtain proper permits before construction—an unpermitted conversion risks liability, insurance denial, and lower resale value, though permits typically cost only 5–10% of your budget.
- Position kitchen and bathroom on the same wall to minimize costly plumbing runs, and ensure adequate ventilation with properly ducted exhaust fans to prevent moisture and mold issues.
Assess Your Shed and Set Realistic Goals
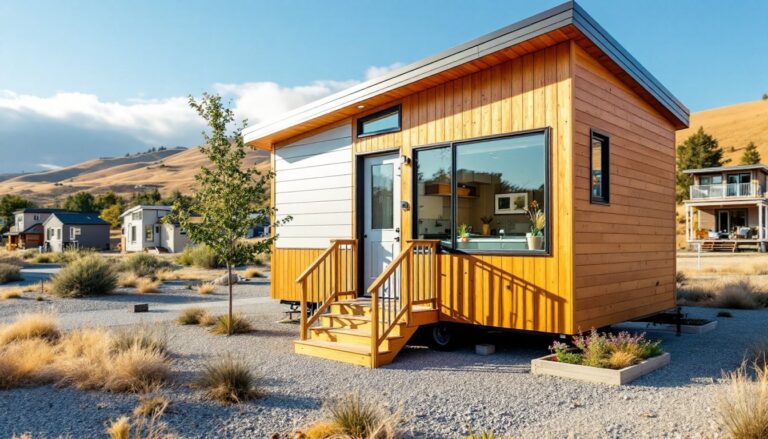
Before drawing up plans, be honest about what your shed can support. Most residential sheds fall between 100 and 400 square feet, plenty of space for a tiny home, but only if the structure is sound. Walk the perimeter and check for rot, pest damage, and foundation integrity. Press the sills and floor joists with a screwdriver: wood that yields to pressure indicates decay and will require expensive replacement.
Measure the interior dimensions and note the roof pitch and wall height. Standard shed walls are typically 8 feet tall, which works for tiny living if you maximize vertical storage. Examine the existing roof condition: if it needs replacement, factor that into your budget and timeline.
Define your project scope: Are you creating sleeping quarters, a full ADU (accessory dwelling unit), or a guest retreat? Living full-time in a shed conversion requires electrical, plumbing, HVAC, and insulation, costs that climb quickly. A seasonal studio or workshop demands less infrastructure. Be clear about your end goal before spending time and money on planning.
Plan Your Layout and Essential Systems
Sketch a floor plan that accounts for sleeping, cooking, bathing, and storage without sacrificing livability. In tiny spaces, every square foot counts: avoid wasted hallway space and think vertically. A lofted sleeping area can recover 80–120 square feet of floor space. Position the kitchen and bathroom on the same wall or back-to-back to minimize plumbing runs and material cost.
Consider traffic flow: occupants should move from entry to living space without crossing the bedroom or bathroom. Even in a 200-square-foot footprint, this difference matters for comfort and daily function. Sketch out furniture placement early: if your bed or couch won’t fit, no design trick fixes that.
Electrical, Plumbing, and HVAC Basics
Electrical work must meet the National Electrical Code (NEC) and local amendments. Most jurisdictions require a licensed electrician for permanent installations, even in a shed conversion. Install a 100-amp sub-panel fed from your main panel if the shed is more than 100 feet away, and run buried underground conduit (at least 18 inches deep for non-metallic conduit) to protect wiring. Inside, run wiring through the walls, surface-mounted conduit looks unfinished and complicates renovations.
Plumbing for a full kitchen and bathroom requires routing to your main water supply and sewer or septic line. Copper, PEX, or PVC all work: PEX is easiest for DIYers and requires fewer fittings. Insulate all exposed pipes to prevent freezing if your tiny home sits in a cold climate. Plan for a water heater, ideally a compact tankless unit: a standard 40-gallon heater consumes space and energy better served elsewhere.
HVAC depends on climate and insulation. A mini-split ductless system is quieter and more efficient than a window unit, but costs more upfront. In mild climates, ceiling fans and strategic windows may suffice: but, heating or cooling a poorly insulated shed quickly becomes unbearable. Allocate budget for an HVAC solution before finalizing your design, it’s not an afterthought.
Insulation and Weatherproofing
Shed walls are often single-layer wood or metal, useless for year-round living. You’ll need to build out the walls, install R-15 to R-21 insulation (depending on your climate zone), add a vapor barrier, and finish with drywall or other interior cladding. This thickens walls by 4–6 inches, reducing interior space but essential for comfort and energy efficiency.
Start by air-sealing. Caulk around window frames, door jambs, and any penetrations for utilities. Air leaks steal more heat than poor insulation in many cases. Install weatherstripping around doors and seal any gaps in the roof-to-wall junction.
Attic or roof insulation matters equally. If your shed roof is solid, you can blow in cellulose or fiberglass from inside: if the roof is open joists, lay rigid foam or batts before closing it in. Aim for R-30 minimum in the ceiling, heat rises, and a cold attic means a cold living space and higher heating bills.
Ventilation is critical but often missed. Bathrooms and kitchens need exhaust fans vented to the outdoors, not into an attic (moisture buildup leads to mold and rot). A small shed might use one bathroom exhaust fan that also serves the kitchen range hood, but ensure proper ducting, crushed, kinked, or undersized ductwork defeats the fan’s purpose. Install vapor barriers on the warm side of insulation and use high-quality exterior caulk and sealant: cheap products fail within a year.
Interior Design and Space-Saving Solutions
Tiny homes demand clever design. Built-in furniture, beds with drawers underneath, fold-down desks, and shelving that runs floor to ceiling, maximizes usable area. Light colors and large mirrors create the illusion of space: dark walls feel cramped even if the square footage is generous.
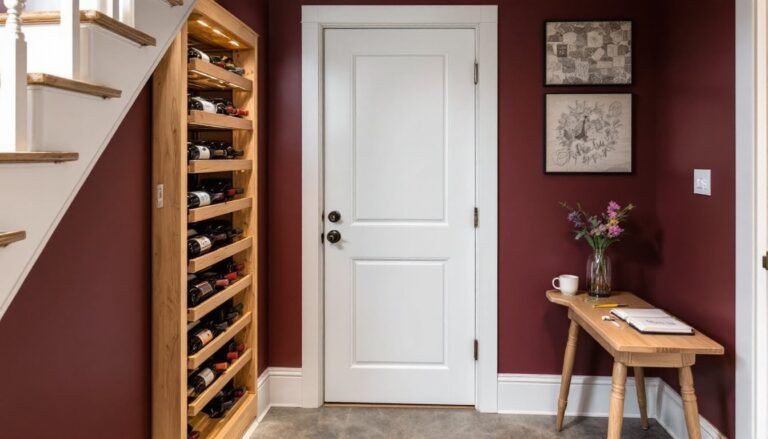
Multi-use furniture saves money and floor space. A daybed or sofa that converts to a guest bed works harder than a dedicated bedroom. Sliding barn doors take less swing clearance than hinged doors. Under-stair storage, pull-out pantries, and magnetic strips for tools and utensils keep clutter off surfaces.
Small spaces benefit from consistent aesthetics. A hodgepodge of styles and finishes overwhelms the eye. Stick to a cohesive color palette and material palette: two or three wood tones and a neutral backdrop create calm rather than chaos. Small space living ideas emphasize open shelving and minimalist décor, which also makes tiny homes feel larger.
Windows and natural light are non-negotiable. If your shed faces a blank wall or forest, consider skylights or a few well-placed windows to draw in daylight. Artificial lighting should be layered, overhead, task lighting at work areas, and ambient accent lights, to adapt to different moods and tasks. Recessed LED fixtures take less headroom than pendant lights.
Permits, Codes, and Legal Considerations
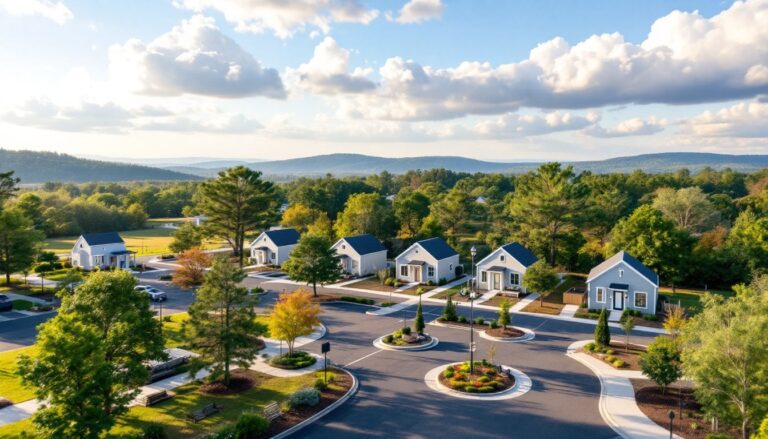
This is the conversation many DIYers avoid, but it’s the foundation of a smart project. Most jurisdictions require permits for any structure conversion, particularly if it involves plumbing, electrical work, or structural changes. ADU regulations vary wildly, some counties allow them by right (permitted use), others cap size or require minimum setbacks, and a few ban them outright.
Before spending money, contact your local building department and ask about ADU or accessory dwelling unit rules, lot coverage limits, and minimum lot sizes. Request an inspection to verify your shed meets foundation and structural standards. Older sheds may not have been built to current code and could require reinforcement.
Permits cost money and take time, but they protect your investment and resale value. An unpermitted conversion is a liability if the home is sold or the new owner applies for a mortgage. Insurance companies may deny claims on unpermitted additions. Roughly, expect permits to cost 5–10% of your construction budget and add 4–8 weeks to the timeline depending on jurisdiction backlog.
Electrical, plumbing, and structural work typically require licensed professionals and inspections. Some DIYers can handle basic drywall and finish work once those systems are in place and signed off. Be honest about your skills: a mistake in framing or wiring can’t be undone with a sander.
Conclusion
Shed conversions are achievable and increasingly practical, but they require careful planning, honest assessment, and respect for code. Start with a sound structure, prioritize insulation and weatherproofing, install proper electrical and plumbing systems, and get the permits. The result is a livable, efficient tiny home that adds value and flexibility to your property, and you’ll sleep knowing it’s safe, legal, and built to last.