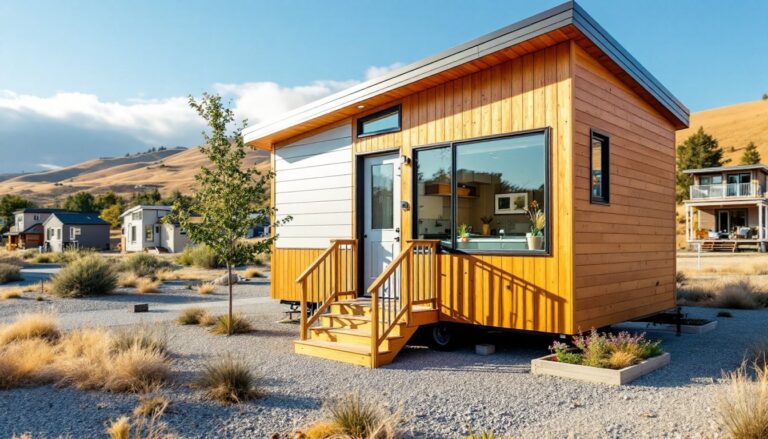
A tiny home bathroom doesn’t have to feel cramped or compromised. With thoughtful planning and strategic fixture placement, even a compact bathroom can deliver comfort, functionality, and style. Whether you’re designing a bathroom in a 400-square-foot cottage, an RV, or a starter home, the key is understanding how to maximize every inch without sacrificing usability. This guide walks through five proven design strategies that help homeowners and DIY enthusiasts create bathrooms that work harder and feel larger than their square footage suggests.
Table of Contents
ToggleKey Takeaways
- A tiny home bathroom layout succeeds through precise measurement, fixture placement strategy, and understanding your local building codes before ordering any components.
- Wall-hung fixtures and corner-mounted options maximize floor space visibility and functionality in bathrooms under 40 square feet.
- Vertical storage solutions like recessed cabinets, over-the-toilet units, and floating corner shelves turn walls into usable space without sacrificing floor area.
- Light colors, large mirrors, and layered lighting create the visual illusion of space in compact bathrooms without expensive renovations.
- Stacking fixtures on the same wall minimizes plumbing costs and complexity, while proper ventilation (5–8 air changes per hour) prevents moisture and mold in tiny spaces.
- Choosing shower-tub combos or shower-only designs over full tubs saves significant footprint in a tiny home bathroom layout.
Assess Your Available Space and Fixtures
Before you order a single fixture, understand exactly what you’re working with. Measure the room length, width, and height. Note window locations, door swing direction, and any structural elements like load-bearing walls or existing plumbing stacks. Check ceiling clearance above the toilet and tub, codes typically require 6 feet 8 inches of clear headroom in bathrooms.
Pull the building code for your jurisdiction (usually available through your local building department website). Codes vary, but most require a minimum 30-inch clear floor space in front of the toilet and at least 21 inches of clearance on each side for safe use. If you’re planning structural changes, moving walls, relocating the toilet stack, or opening a ceiling, these usually require permits and a licensed professional.
Measure Twice, Design Once
Use a tape measure to record exact dimensions, including wall thickness (typically 4.5 inches actual for a 2×6 framed wall). Sketch the layout to scale on graph paper or use a free online tool like Floorplanner. Mark plumbing lines, electrical outlets, and any existing ductwork. Mark the door swing, a door opening inward eats precious floor space.
Note the toilet rough-in distance (the distance from the wall to the center of the drain). Standard is 12 inches, but some older homes have 10 or 14 inches. If you move the toilet and the rough-in doesn’t match, you’ll need to reroute the drain line, a job for a licensed plumber in most jurisdictions.
Choose the Right Fixture Configuration
In a tiny bathroom, fixture layout is everything. The three main configurations are three-piece (toilet, sink, and tub/shower), two-piece (toilet and sink), and one-piece (just a toilet and sink, with shower handled elsewhere).
For bathrooms under 40 square feet, a corner pedestal sink paired with a toilet and compact tub-shower combo is the traditional choice. If floor space is tighter, swap the tub for a corner-mount or wall-hung toilet paired with a small 18 to 24-inch pedestal sink or wall-mounted vanity. Wall-hung fixtures mount to the studs behind the drywall, leaving the floor visually open and making cleaning easier.
Consider a combined toilet-bidet fixture or shower toilet seat, these aren’t common in North America but save significant space in extremely tight layouts. A wet room design (where the entire bathroom floor drains as a shower area) is another space-saver, though it requires waterproofing the floor and possibly relocating the toilet: this is best handled by a licensed plumber or contractor because of code and structural requirements.
Tub vs. shower is a personal call. Tubs hold value for resale and families with children, but showers take up less footprint and are easier to work into corner spaces. A shower-tub combo is the middle ground, a 60-inch or 54-inch fiberglass unit handles both without requiring two separate installations, though you sacrifice some shower headroom and tub length.
Optimize Vertical Storage Solutions
In a tiny bathroom, every wall is real estate. Install shelving from floor to ceiling, leaving only narrow gaps for fixtures and clearance. Over-the-toilet shelving units are inexpensive ($30–$80) and hold surprisingly much, toilet paper, towels, toiletries, and cleaning supplies. Pair these with recessed wall cabinets (installed between studs) to hide clutter without eating floor or counter space.
If the wall studs are spaced 16 inches on center (standard), a recessed cabinet is 15 inches wide and 3 inches deep, enough for a few shelves. Installation involves cutting drywall, fitting the cabinet frame between studs, and patching around the edges. It’s a manageable DIY project if you’re comfortable with a drywall saw and stud finder.
Consider floating corner shelves mounted in unused corners, at the corner junction above the toilet, above the sink, or in shower alcoves. Corner shelves add visual interest and storage without taking footprint. Install them on 2×4 cleats bolted into studs, and use quality lag bolts or structural screws rated for bathroom moisture.
Install shelves and cabinets within arm’s reach of where they’re used. Toilet paper, hand soap, and towels go near the toilet and sink. Cleaning supplies and extra rolls store higher. Avoid cramming shelves too densely, clutter makes small spaces feel smaller. One principle: visible storage should look intentional, not chaotic.
Create the Illusion of Space With Smart Design Choices
Paint and lighting are free magic in a tiny bathroom. Light, neutral wall colors (whites, soft grays, warm beiges) reflect light and visually expand the room. A single accent wall in a soft color (avoid dark, saturated tones) adds personality without closing in the space. Matte finishes hide imperfections: satin or semi-gloss are easier to clean in bathrooms and provide subtle sheen without looking industrial.
Mirrors are the classic trick, a mirror across from the window reflects natural light and makes the room feel twice as deep. Large, frameless mirrors work better than multiple small ones: they read as continuous space rather than a patchwork. Consider a mirror that spans the vanity and goes partway up the wall, or even a floor-to-ceiling mirror on one wall. Installation is straightforward: mark studs, use mirror clips or construction adhesive rated for bathroom humidity, and ensure the backing (usually ¼-inch plywood or backer board) is secure and level.
Lighting affects how spacious a room feels. A single overhead fixture creates shadows and dead zones. Instead, add vanity lights flanking the mirror (or a strip light above it) for even, shadow-free task lighting. A small recessed light or flush-mount in the ceiling provides general fill. According to design principles used in spaces from apartments to hotel rooms, layered lighting makes compact areas feel more intentional and navigable.
Flooring choices matter too. Large-format tiles (12×24 inches or bigger) create visual flow and fewer grout lines, making the floor feel less busy. Light tile colors (whites, light grays, warm tans) bounce light around. Dark or heavily patterned flooring can chop up a small floor plan.
Plan for Efficient Plumbing and Ventilation
Plumbing placement directly impacts your budget and layout flexibility. The toilet, sink, and tub/shower all need water supply and drain lines. In a compact layout, stacking fixtures on the same wall (back-to-back if there’s a wall between the bathroom and another room) minimizes plumbing runs and cost. A run of new supply and drain lines can cost $1,500–$3,000 depending on length and whether you’re breaking into finished walls or slab.
Ventilation is often overlooked but critical. Exhaust fans remove moisture, prevent mold, and meet code, most jurisdictions require a mechanical vent or operable window. In a tiny bathroom, the fan should handle 5–8 air changes per hour. Calculate your room’s cubic feet, multiply by the required air changes, and divide by 60 to get the CFM (cubic feet per minute) rating you need. A typical 50–80 CFM fan works for bathrooms under 50 square feet, though larger or humid areas need more.
Fan noise matters in a small space. Look for models rated 0.3–1.5 sones (a unit of loudness), quieter than a whisper-tone range. Install the ductwork to exit the roof or exterior wall: never vent into the attic, as moisture will damage insulation and framing. If you’re adding a new vent, a licensed HVAC contractor can handle ductwork routing and ensure it meets code, though a handy DIYer can often manage the in-wall rough-in and fan box installation.
Water heater placement also affects layout. If a small tankless unit or point-of-use heater is possible (they’re cheaper for tiny bathrooms than running long hot-water lines), it frees up space elsewhere in the home. Consult a plumber or HVAC technician about sizing and venting requirements, tankless units need dedicated gas or electric lines and venting.
Conclusion
A tiny bathroom thrives on intention. Measure carefully, plan your fixture layout within your space constraints and local codes, maximize vertical storage, and use design tricks like mirrors and light colors to expand the visual footprint. Whether you’re tackling demolition and plumbing yourself or hiring professionals for structural work, the fundamentals remain the same: understand your space, respect building codes, and prioritize function over trendy aesthetics. A well-designed compact bathroom proves that limitation breeds creativity, and comfort doesn’t require square footage.